Belastbare Daten sind Voraussetzung für verlässliche und skalierbare AI
So gut wie jedes Unternehmen investiert derzeit in AI. Jedoch fast allen fehlt eine verbindliche Vereinbarung dazu, wie ihre Daten beschrieben, verstanden und verantwortet werden. Eine fatale Diskrepanz.

Wenn Sprache zur Schnittstelle für Daten wird, muss sich die Architektur verändern
Sprachmodelle eröffnen neue Wege, Daten zu nutzen. Damit Analytics über Chat, Copilots und natürliche Sprache funktioniert braucht es eine neue Generation der Analyseplattformen.

AI-Initiativen im Analytics-Umfeld scheitern nicht an Tools oder Modellen
AI in Analytics ist selten ein Technologieproblem. AI macht vielmehr sichtbar, was in vielen Organisationen heute (noch) nicht vorhanden ist. Wir zeigen Ihnen, an welchen Stellen Unternehmen ansetzen müssen, damit AI in ihren Analytics-Initiativen wirksam wird.


lead link: Performance-Steuerung mit moderner D&A-Plattform auf Microsoft Fabric
Microsoft Fabric unterstützt die automatisierte Performance-Steuerung der Kampagnen und reduziert den manuellen Aufwand.

R-KOM: Automatisiertes BI-Reporting mit 360 Grad-Blick über alle Fachbereiche
Ein Data Warehouse als Basis für datengetriebene Unternehmenssteuerung sorgt für vertrauenswürdige Steuerungskennzahlen und Transparenz über alle Bereiche.
Plusnet: Innovative Analytics mit Microsoft Fabric
Plusnet schafft durch datengetriebenes Lakehouse eine innovative Datenkultur und steigert die Prozess-Effizienz um 80 Prozent mit Microsoft Fabric.
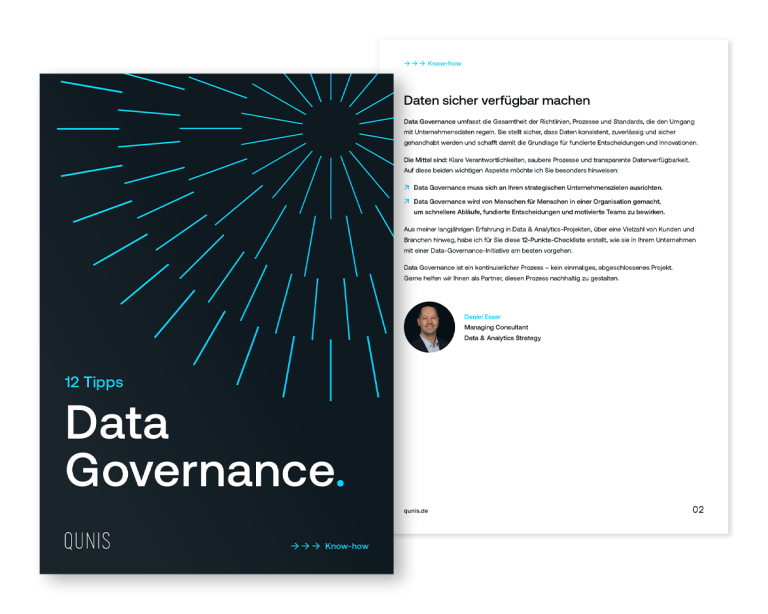
Data Governance
State of the Art-Organisationskonzept für zuverlässig konsistente Daten. In unserer kostenfreie Checkliste erhalten Sie zwölf praxisbewährte Tipps, die Ihnen helfen, eine nachhaltige Data Governance aufzubauen und Daten sicher verfügbar zu machen.
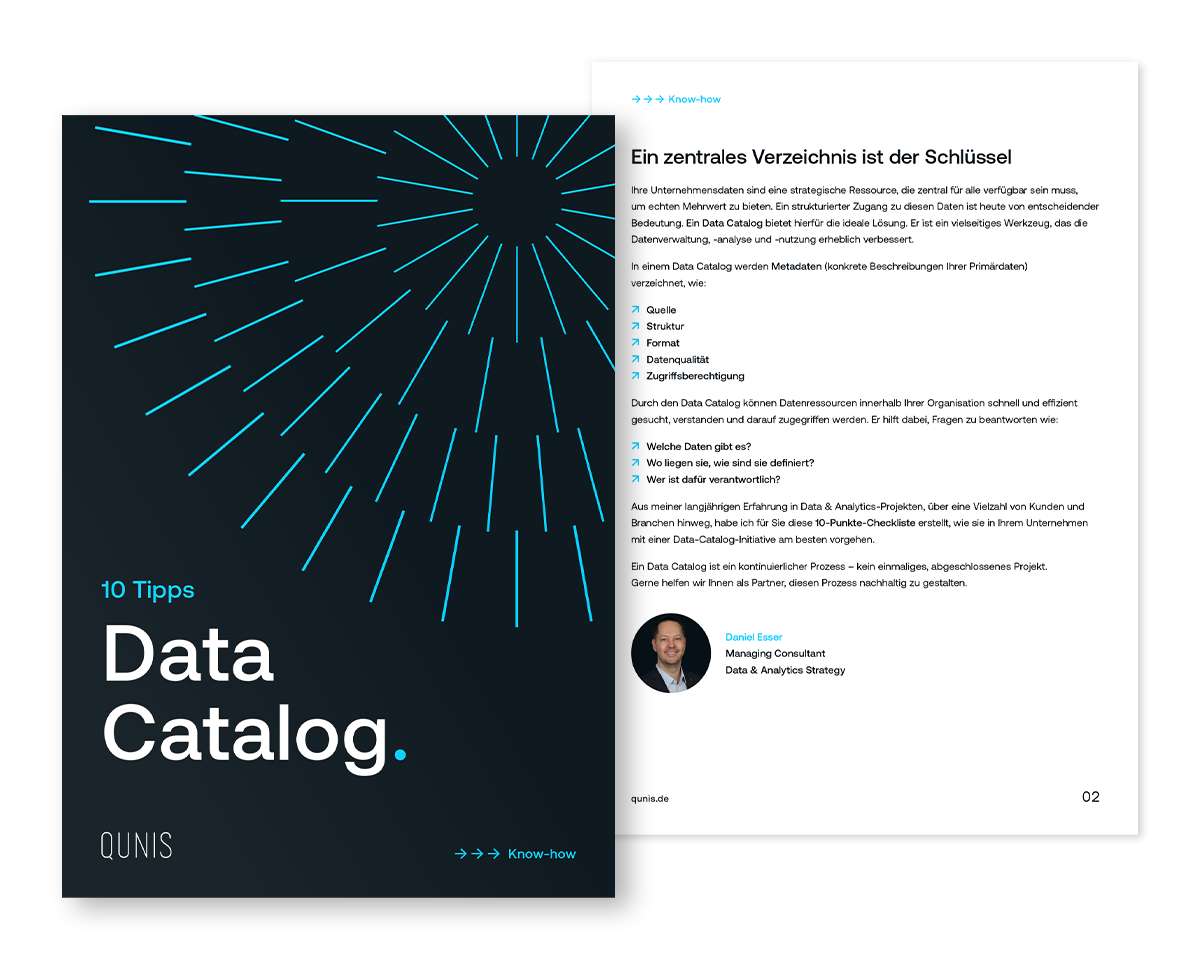
Data Catalog
Zentrales Metadaten-Verzeichnis schafft Transparenz, Struktur und Effizienz. In unserer kostenfreie Checkliste erhalten Sie praxisbewährte Tipps vom Profi zu Vorgehen, Organisation und Verantwortlichkeiten für den erfolgreichen Aufbau eines Data Catalog.
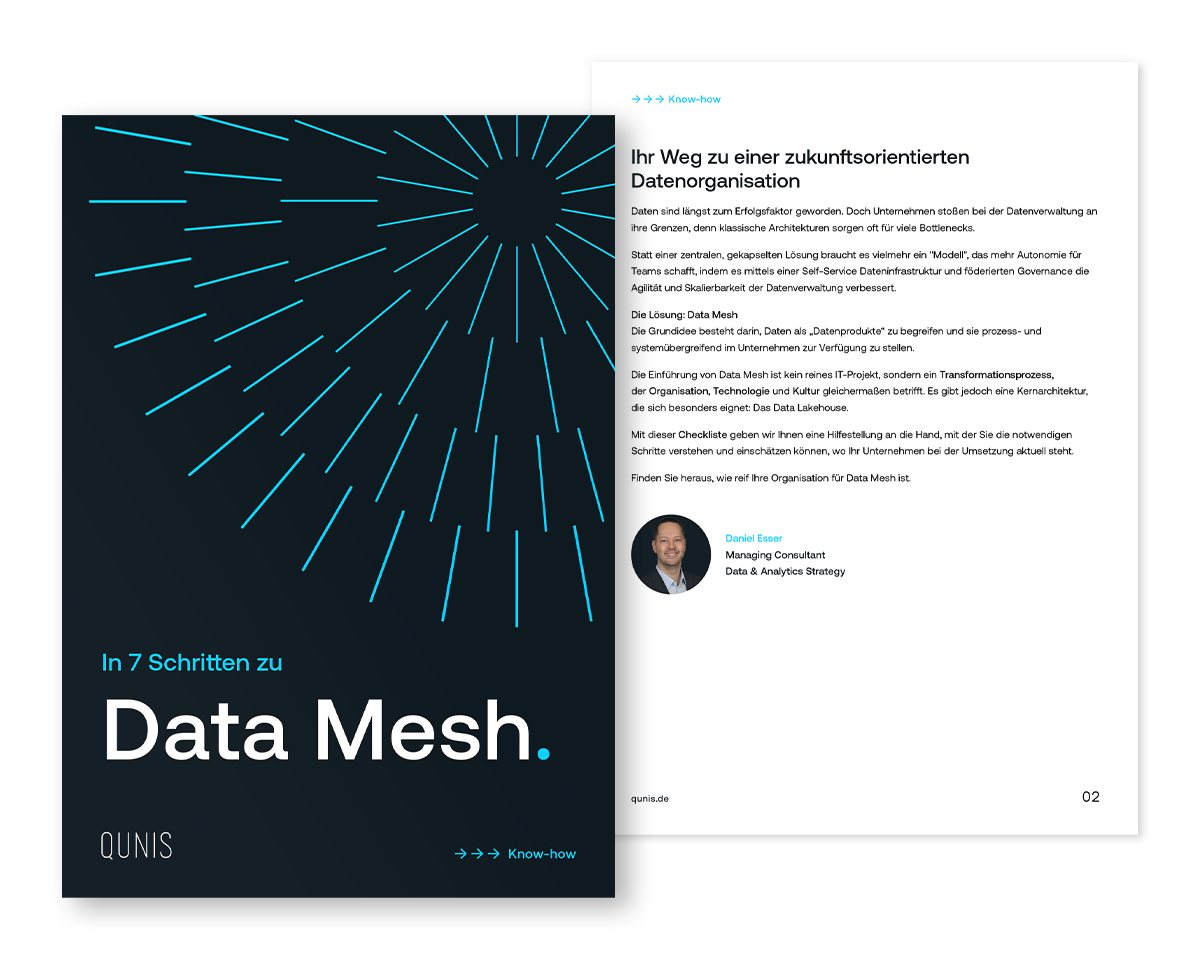
Data Mesh
Modernes Konzept für zukunftsorientierte Datenverwaltung und Nutzung. Unserer kostenfreie Checkliste hilft Ihnen herauszufinden: Wie reif Ihr Unternehmen für dieses moderne Konzept der Datenverwaltung Und was ist noch zu tun?
Daten als Asset: Die neue Ära der Data & AI-Transformation
In der neuen Folge des Lünendonk-Podcasts widmen wir uns einem Thema, das aktuell kaum relevanter sein könnte – der Data-&-AI-Transformation.

Data Act als Weckruf für Data Governance
Dr. Martin Schirmbacher & Dr. Hubertus von Roenne sprechen mit Daniel Esser über seine Sicht auf Datenstrategien bei Kunden und den Umgang mit dem Data Act, der aus seiner Sicht ein Weckruf ist, Daten professionell zu managen.
Daten bei Danone schmecken so gut
Tobias Riedner (Danone) und Alexander Kegel (QUNIS) sprechen mit Claudia Koschtial über Herausforderungen, die Danone bei der Analyse seines Kerngeschäfts erfahren hat und wie diese gelöst und Daten schmackhaft wurden.